Crochet looks complicated when you watch someone’s hands fly, but it is built from just a handful of simple movements. If you can hold a pencil and you have a little patience, you can learn to crochet. This guide takes you from zero to your first real project, one step at a time, with no assumptions about what you already know.
Everything here uses US crochet terms, which is what most patterns online use (including all the patterns on this blog). If you find a UK pattern later, our US vs UK crochet terms chart will help you translate it.
Step 1: Get the right beginner supplies
You don’t need much to start, and cheap supplies are fine while you learn. What matters most is choosing yarn and a hook that make it easy to see your stitches.
- Yarn: one ball of smooth, light-colored worsted weight (#4) yarn. Cotton or acrylic both work. Avoid black, very dark colors, fluffy mohair and fuzzy chenille for now, because they hide your stitches.
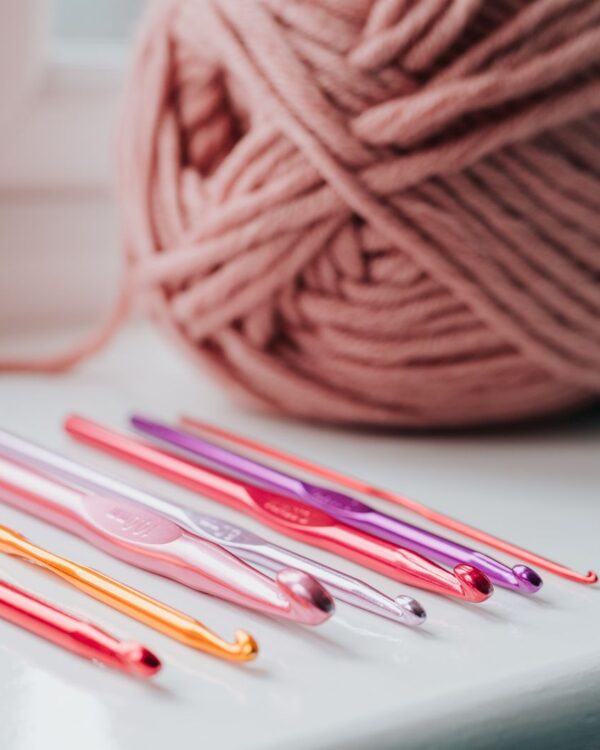
- Hook: a 5 mm (H/8) hook. It matches worsted yarn well and is big enough to see what you are doing. Ergonomic hooks with a soft handle are more comfortable for long sessions.
- Scissors and a yarn needle (a large blunt needle for weaving in ends).
- A few stitch markers or safety pins.
Not sure which hook goes with which yarn? See our crochet hook sizes chart and the guide to yarn weights.
Step 2: Hold the hook and the yarn
There are two common ways to hold a crochet hook. Try both and keep the one that feels natural.
- Pencil grip: hold the hook like a pencil, between your thumb and index finger, resting on your middle finger.
- Knife grip: hold the hook like a knife, with your hand over the top of the handle.
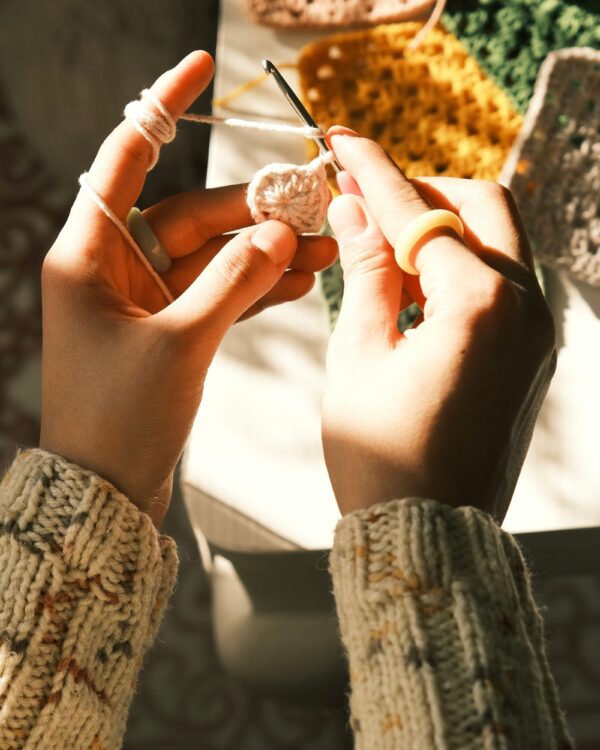
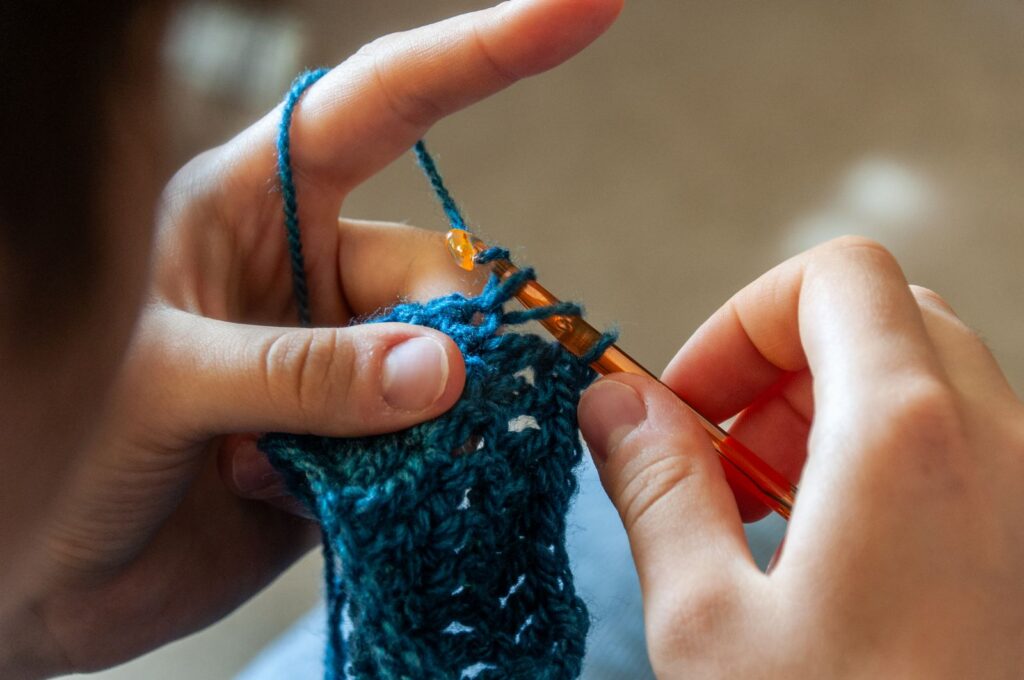
Your other hand holds the yarn and the work. Weave the yarn coming from the ball over your index finger, under your middle finger and around your little finger. This creates gentle tension so the yarn feeds smoothly. Your index finger lifts the yarn up so the hook can grab it, and your thumb and middle finger pinch the work just below the hook.
Tension feels awkward for everyone at first. After a few hours it becomes automatic, so don’t worry if your first rows look uneven.
Step 3: Make a slip knot
Almost every crochet project starts with a slip knot on the hook.
- Make a loop with the yarn, crossing the ball end over the tail end.
- Reach through the loop, grab the ball end of the yarn, and pull it through to make a new loop.
- Put that new loop on your hook and gently pull both ends to tighten it. It should slide on the hook but not fall off.
Step 4: Chain stitch (ch)
The chain is the foundation of most flat projects.
- With the slip knot on the hook, wrap the yarn over the hook from back to front. This is called a yarn over (yo).
- Pull the yarn through the loop on your hook. That’s one chain.
- Repeat until you have 15 chains. Count the little V shapes; the loop on the hook doesn’t count.
Keep your chains loose. Tight chains are the most common beginner problem and make the next row very hard to work.
Step 5: Single crochet (sc)
Single crochet is the most important stitch in crochet, and it’s the stitch used for almost all amigurumi.
- Skip the first chain next to the hook. Insert the hook into the second chain from the hook.
- Yarn over and pull up a loop. You now have 2 loops on the hook.
- Yarn over again and pull through both loops. One single crochet is done.
- Work one single crochet into each chain to the end of the row.
To start the next row, chain 1, turn your work, and work a single crochet into each stitch of the row below. The chain 1 does not count as a stitch. Work 10 rows and you have your first swatch!
Step 6: Learn three more basic stitches
Once single crochet feels comfortable, the next stitches are just taller versions of the same idea.
- Half double crochet (hdc): yarn over, insert the hook, yarn over and pull up a loop (3 loops on hook), yarn over and pull through all 3.
- Double crochet (dc): yarn over, insert the hook, yarn over and pull up a loop (3 loops), yarn over and pull through 2, yarn over and pull through the last 2.
- Slip stitch (sl st): insert the hook, yarn over and pull straight through the stitch and the loop on the hook. It’s used to join rounds and move across the work.
Step 7: Fasten off and weave in ends
When you finish, cut the yarn leaving a 15 cm (6 in) tail. Yarn over and pull the tail all the way through the loop on the hook. Thread the tail onto your yarn needle and weave it through the back of a few stitches in different directions so it can’t come loose.
Step 8: Choose your first project
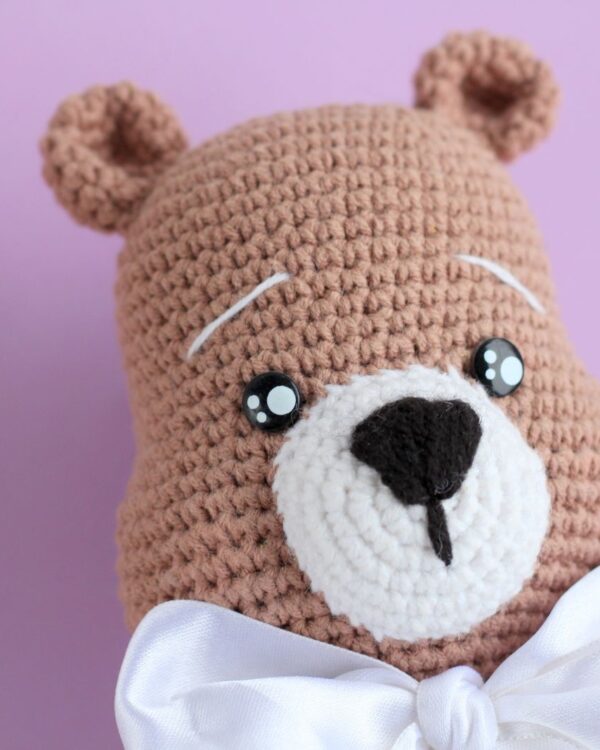
Good first projects use one stitch, are worked flat and don’t need perfect sizing. Try a dishcloth, a coaster or a simple scarf. When you’re ready to work in rounds, learn the magic ring and try a small amigurumi like our gingerbread keychain.
Common beginner mistakes
- Your work gets narrower or wider: you’re skipping or adding stitches at the ends of rows. Place a stitch marker in the first and last stitch of each row and count stitches often.
- Stitches are too tight: relax your yarn hand and make sure each loop slides onto the thick part of the hook, not the throat.
- Edges look wavy: you may be working into the turning chain. Remember that in single crochet the chain 1 is not a stitch.
FAQ
How long does it take to learn to crochet?
Most people can chain and single crochet after one or two practice sessions. Making neat, even fabric usually takes a couple of weeks of regular practice.
Is crochet easier than knitting?
Many beginners find crochet easier because you only work with one loop at a time and it’s easy to fix mistakes.
Should I learn left-handed?
If you’re left-handed, crochet with your left hand. Everything works the same way, just mirrored.
Save this guide to your crochet board on Pinterest so you can come back to it while you practice. Happy crocheting!
Cover photo: inspiration photo by wal_ 172619 on Pexels