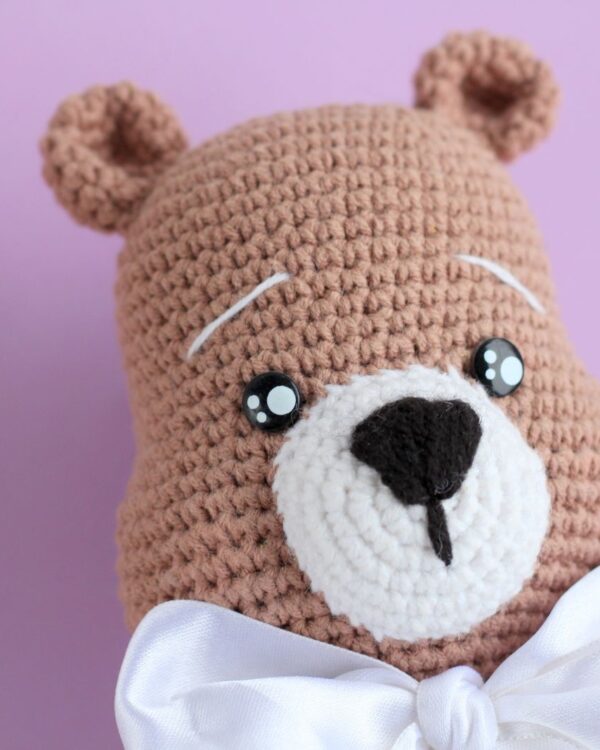
Almost every amigurumi pattern starts with the same line: “6 sc in MR.” MR stands for magic ring, also called the magic circle or adjustable ring. It’s a way to start crocheting in the round so the center can be pulled completely closed, with no hole for the stuffing to peek through.
The magic ring is often the step that frustrates beginners most. The good news: once it clicks, you’ll never forget it. Grab your yarn and hook and follow along.
What you need
- Smooth, light-colored worsted (#4) yarn for practice
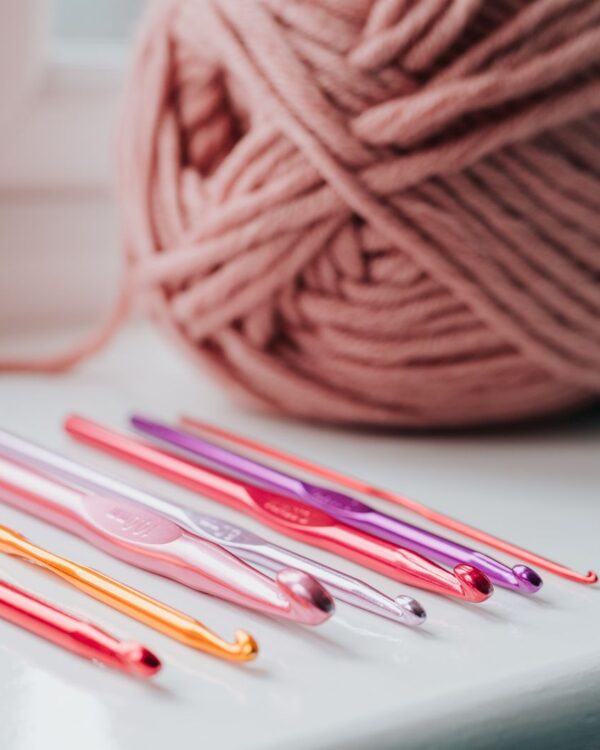
- A 3.5–4 mm hook
- A stitch marker
New to the basic stitches? Start with our beginner’s guide to crochet first, because you’ll need single crochet for this.
Step-by-step: the magic ring
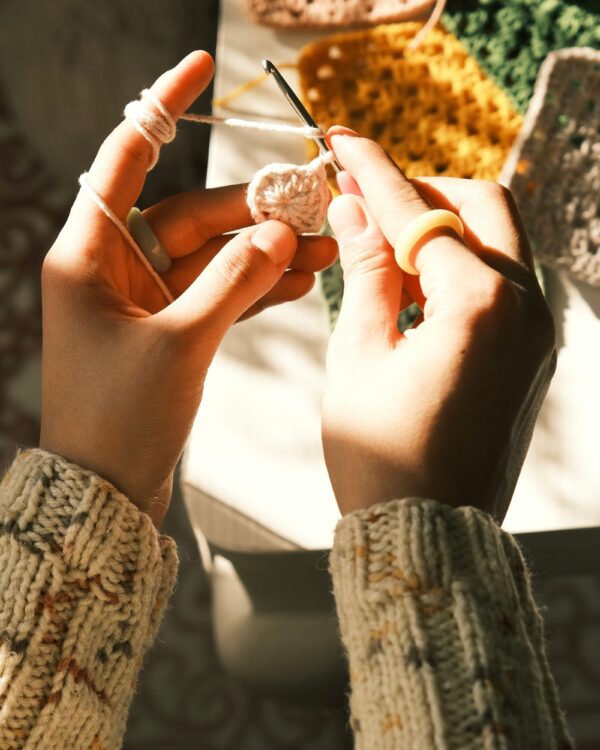
- Make a loop. Lay the yarn tail across your palm and wrap the working yarn (the yarn coming from the ball) around two fingers, so it crosses over the tail and forms an X on the back of your fingers.
- Insert the hook. Slide the hook under the first strand of the loop, from front to back.
- Grab the working yarn. Catch the working yarn with your hook and pull it back under the strand. You now have one loop on your hook.
- Chain 1. Yarn over and pull through the loop on your hook. This chain secures the ring and does not count as a stitch.
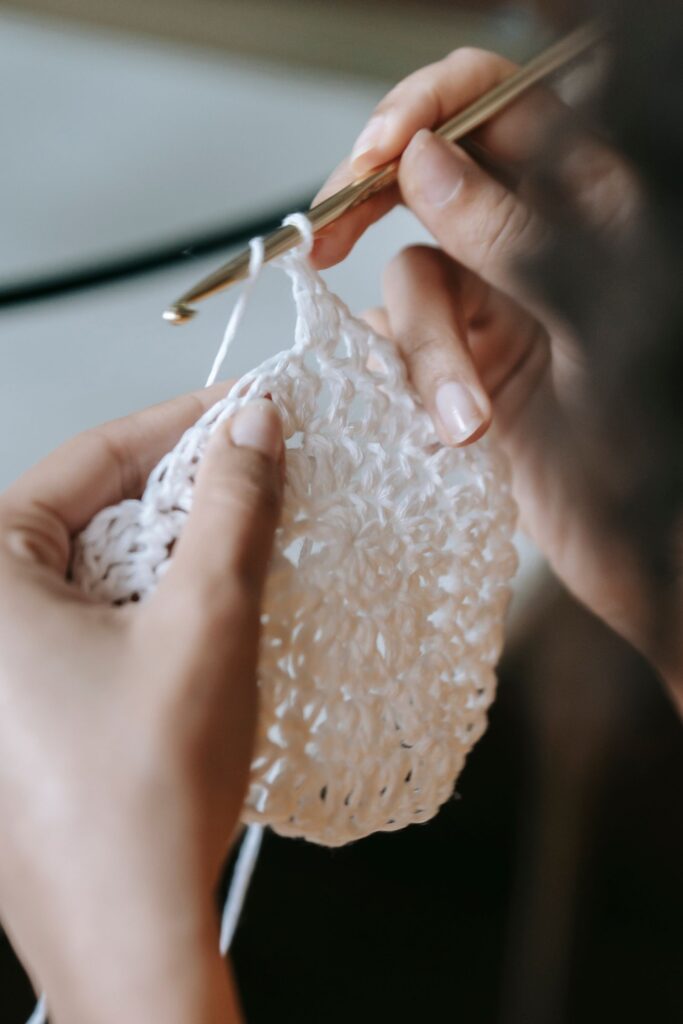
- Work into the ring. Insert the hook into the center of the ring (under both strands of the loop and the tail), yarn over, pull up a loop, yarn over and pull through both loops. That’s the first single crochet.
- Repeat. Work 5 more single crochet into the ring, for 6 stitches total. Count them carefully.
- Close the ring. Gently pull the tail. The center closes up like a drawstring. Pull firmly until the hole disappears completely.
Now place a stitch marker in the first stitch and continue with Round 2 (usually “inc x6” for 12 stitches).
Why does my magic ring come undone?
A magic ring is held closed only by the tail, so it can loosen over time if the tail isn’t secured. Fix this in two ways:
- After a few rounds, pull the tail tight again, then weave it through the stitches of Round 1 in one direction and back in the other.
- Tie a small knot with the tail on the inside of the work before you stuff it.
Troubleshooting
The ring won’t close. You probably worked some stitches over only one strand. Make sure every stitch goes around both strands of the loop. If the tail doesn’t slide, unravel and start again; it only takes a minute.
I have 7 stitches instead of 6. The chain 1 at the beginning is not a stitch. Don’t work into it on the next round.
My ring keeps slipping off my fingers. Hold the crossing point of the X firmly between your thumb and middle finger while you work the first stitch. After that, the ring holds its shape on its own.
Alternative: the chain 2 method
If the magic ring just won’t work for you yet, you can start with “ch 2, then 6 sc in the 2nd chain from the hook.” This leaves a tiny hole in the center, but it’s fine for your first projects. Come back to the magic ring when you feel more confident.
Where you’ll use the magic ring
The magic ring starts every round shape: amigurumi heads, bodies, hats, coasters and flowers. Practice it with our beginner amigurumi patterns, like the kawaii penguin, whose whole body starts from a single magic ring.
FAQ
Is a magic ring the same as a magic circle?
Yes. Magic ring, magic circle, magic loop and adjustable ring are all names for the same technique.
How many stitches go in a magic ring?
Usually 6 single crochet for amigurumi. Some patterns use 4, 5 or 8; always follow the number in your pattern.
Can I use a magic ring with double crochet?
Yes. Chain 2 or 3 after the first loop instead of chain 1, then work double crochet into the ring. This is common for hats and granny squares.
Pin this tutorial so it’s handy the next time a pattern says “6 sc in MR”!
Cover photo: inspiration photo by Miriam Alonso on Pexels