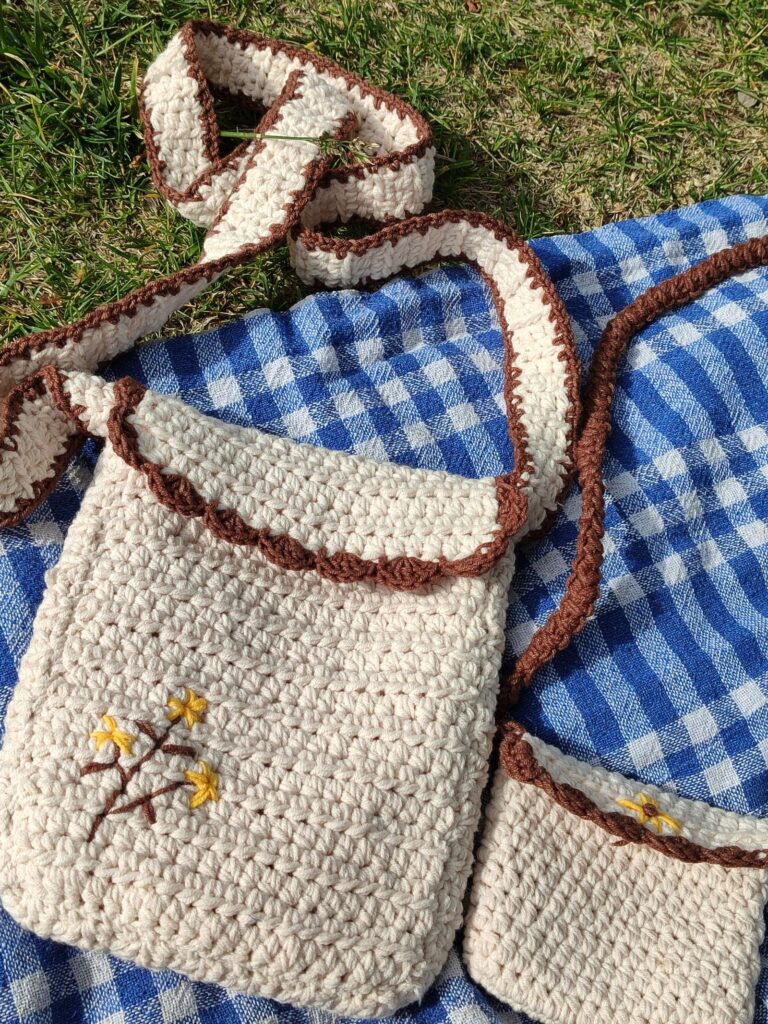
A handmade tote bag is one of the most useful things you can crochet. This one has a flat rectangular base so it stands up on its own, a body worked in easy rounds of half double crochet, and handles crocheted right into the top, so there’s no sewing. Make it in cotton for a sturdy market bag, or in pastel colors for a cute everyday tote.
The finished bag measures about 28 cm wide x 30 cm tall (11 x 12 in), plus handles, and takes 5–7 hours.
Materials
- Worsted weight (#4) cotton yarn, about 200 g (roughly 400 m / 440 yd)
- 5 mm (H/8) crochet hook
- 4 stitch markers
- Yarn needle and scissors
- Optional: fabric for a lining, or a small crochet heart or flower to sew on
Cotton is best for bags because it doesn’t stretch much. Acrylic bags tend to sag when they’re full. Learn more in our guide to yarn weights.
Gauge: 14 sts and 11 rows of hdc = 10 cm (4 in). Gauge isn’t critical, but a big difference changes the bag size.
Abbreviations (US terms)
ch = chain · sl st = slip stitch · sc = single crochet · hdc = half double crochet · BLO = back loop only · st(s) = stitch(es).
The body is worked in joined rounds. The beginning ch 1 or ch 2 does not count as a stitch.
Base
The base is a flat rectangle worked in rows.
- Row 1: Ch 31. Sc in the 2nd ch from the hook and in each ch across (30). Turn.
- Rows 2–10: Ch 1, sc in each st across (30). Turn. — 9 rows
You now have a rectangle about 21 x 7 cm. Don’t fasten off.
Edging round
- Rnd 1: Ch 1. Working around the whole rectangle: 30 sc along the long top edge, 10 sc along the short side (one in each row end), 30 sc along the bottom of the starting chain, and 10 sc along the other short side. Sl st to the first sc to join (80).
Place a stitch marker at each of the 4 corners. They’ll help you keep the handles centered later.
Body
- Rnd 2: Ch 1, sc in BLO of each st around, sl st to join (80). This creates a neat ridge where the base turns into the sides.
- Rnds 3–31: Ch 2, hdc in each st around, sl st to join (80). — 29 rounds
Measure the bag. It should be about 28 cm tall. Add or remove rounds for a taller or shorter bag.
- Rnds 32–33: Ch 1, sc in each st around, sl st to join (80).
Handles
Fold the bag flat so the long sides are the front and back. The round should start at the corner where the front begins (the 30-stitch side). If it doesn’t, sl st along to that corner marker first.
- Rnd 34: Ch 1, sc in the next 10 sts, ch 40, skip the next 10 sts, sc in the next 30 sts, ch 40, skip the next 10 sts, sc in the last 20 sts. Sl st to join.
This places one handle opening in the middle 10 stitches of the front and one in the middle 10 stitches of the back.
- Rnd 35: Ch 1, sc in each sc and in each ch around, sl st to join (140).
- Rnd 36: Ch 1, sc in each st around, sl st to join (140).
Fasten off and weave in all ends.
Finishing touches
- Stronger handles: work one more round of sc, or sl st around the inner edge of each handle.
- Lining: sew a simple fabric lining inside to stop small items poking through and to keep the bag from stretching.
- Kawaii decoration: sew on a small crochet heart, a granny square pocket, or a mini cat keychain as a bag charm.
- Stripes: change color every 4–6 rounds of the body for a striped market bag.
Tips
- Keep the seam straight: always join into the first stitch of the round, not the turning chain.
- Count your stitches every few rounds, especially around the corners of the base.
- Block it: lightly spray the finished bag with water, stuff it with a towel to shape it, and let it dry.
FAQ
Can I make the bag bigger?
Yes. Start with a longer chain for a wider bag (every 7 extra chains adds about 5 cm to the width), and add more rounds for height. Recount the edging stitches: long side + short side + long side + short side.
Will the bag stretch?
Cotton stretches very little. A lining and a tight gauge help keep the shape even with heavy items.
Can I sell bags made from this pattern?
Yes. Please credit Crochet By Luma Art as the designer and don’t share the pattern itself.
Pin this tote to your crochet board for your next market trip!
Cover photo: inspiration photo by Nur Tok on Pexels