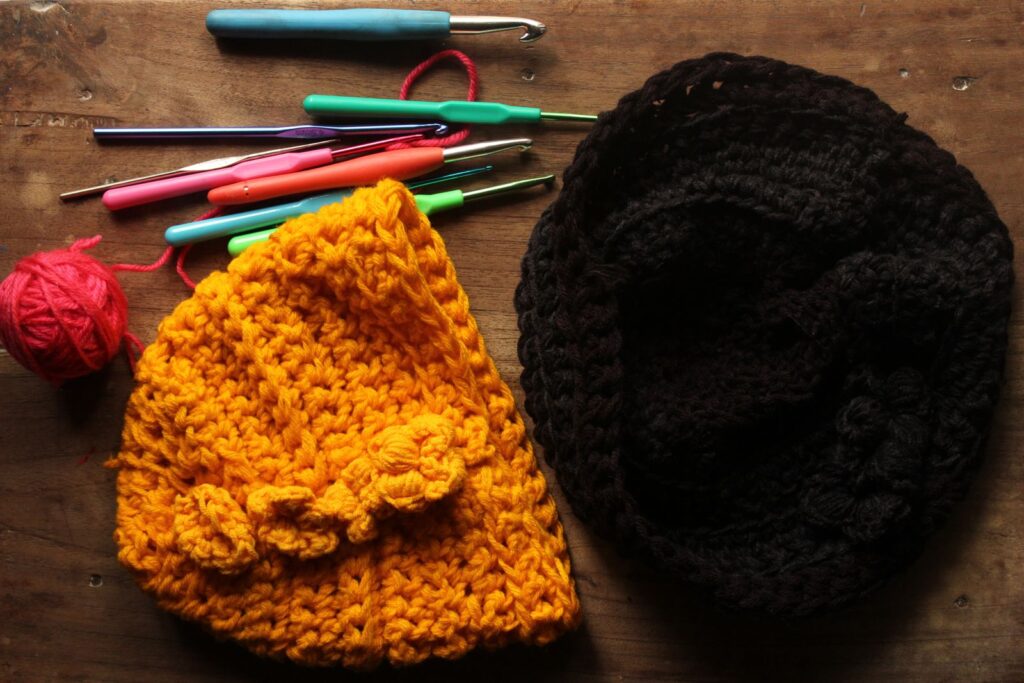
A beanie is one of the best first wearable projects: it’s quick, it uses one main stitch, and you can try it on as you go to make sure it fits. This easy crochet beanie is worked from the top down in rounds of half double crochet, then finished with a stretchy ribbed brim. Make it in a soft pastel for a kawaii look, or in a bold color for everyday wear.
It fits most adults (head circumference about 54–58 cm / 21–23 in) and takes 2–3 hours. Notes for child sizes are below the pattern.
Materials
- Worsted weight (#4) yarn, about 100 g (roughly 200 m / 220 yd) in your main color
- 5.5 mm (I/9) crochet hook
- Stitch marker
- Yarn needle and scissors
- Optional: a faux fur or yarn pom-pom
Gauge: 12 hdc and 9 rows = 10 cm (4 in). Gauge matters for hats, so make a small swatch first. If your swatch is bigger, go down a hook size; if it’s smaller, go up. Not sure which hook? See our hook size chart.
Finished size: about 50 cm (20 in) around, unstretched, and about 21–22 cm (8.5 in) tall. The hat stretches to fit.
Abbreviations (US terms)
MR = magic ring · ch = chain · sl st = slip stitch · hdc = half double crochet · inc = 2 hdc in the same stitch · sc = single crochet · BLO = back loop only · st(s) = stitch(es).
The rounds are joined. The ch 1 at the beginning of each round does not count as a stitch. Place a stitch marker in the first stitch of each round so you always know where to join.
Crown
- R1: Make a magic ring, ch 1, 10 hdc in the ring. Pull the ring closed and sl st to the first hdc to join (10)
- R2: ch 1, inc in each st around, sl st to join (20)
- R3: ch 1, (hdc, inc) x10, sl st to join (30)
- R4: ch 1, (2 hdc, inc) x10, sl st to join (40)
- R5: ch 1, (3 hdc, inc) x10, sl st to join (50)
- R6: ch 1, (4 hdc, inc) x10, sl st to join (60)
Lay the crown flat. It should measure about 16 cm (6.25 in) across. If it’s much smaller, add one more increase round: (5 hdc, inc) x10 for 70 stitches.
Body
- R7–R16: ch 1, hdc in each st around, sl st to join (60) — 10 rounds
Try the hat on. The body should reach just above your ears. Add or remove plain rounds if needed.
Ribbed brim
- R17: ch 1, sc in each st around, sl st to join (60)
- R18–R21: ch 1, sc in BLO of each st around, sl st to join (60) — 4 rounds
Working in the back loop only creates little ridges that look like ribbing and give the brim a bit of stretch. Fasten off and weave in all ends with your yarn needle.
Finishing
- Fold-up brim (optional): work 4 extra brim rounds and fold the brim up for a cozy double layer.
- Pom-pom: sew a pom-pom to the center of the crown, or attach a faux fur pom-pom with its elastic loop so you can remove it before washing.
- Kawaii touch: crochet two small circles (6 sc in MR, inc x6 for 12) and sew them on top as bear ears.
Sizing for kids
Stop the increases earlier and work fewer body rounds:
- Baby (0–12 months): stop after R4 (40 sts), work 8 body rounds and 3 brim rounds.
- Toddler and child (1–10 years): stop after R5 (50 sts), work 10 body rounds and 4 brim rounds.
Children’s heads vary a lot, so measure the head and check the fit as you go.
Tips
- Keep the seam straight: always join into the first hdc of the round, not the ch 1. Otherwise the seam slants across the hat.
- Use a soft yarn: acrylic or wool-blend yarn is warmer and stretchier than cotton for a winter hat. See our guide to yarn weights.
- Hide the seam: wear the joined seam at the back of your head.
FAQ
My crown is wavy. What happened?
You have too many stitches for your gauge. Undo the last increase round, or use a smaller hook.
My crown cups like a bowl too early.
Your stitches are tight. Use a bigger hook or add one more increase round.
Can I use chunky yarn?
Yes, with an 8 mm hook. Start with 8 hdc in the ring and increase by 8 per round until the crown is about 16 cm across.
Can I sell hats made from this pattern?
Yes, please credit Crochet By Luma Art as the designer and don’t share the pattern itself.
Pin this beanie pattern for cozy-season crochet!
Cover photo: inspiration photo by Jahra Tasfia Reza on Pexels