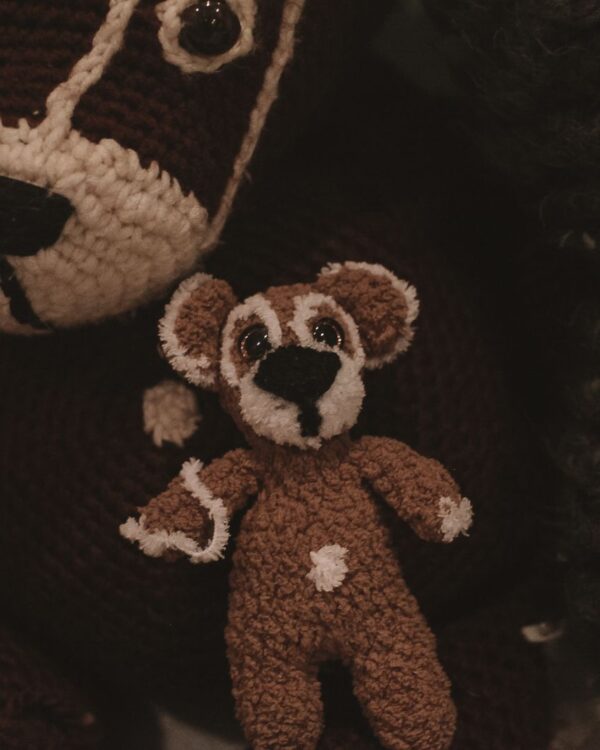
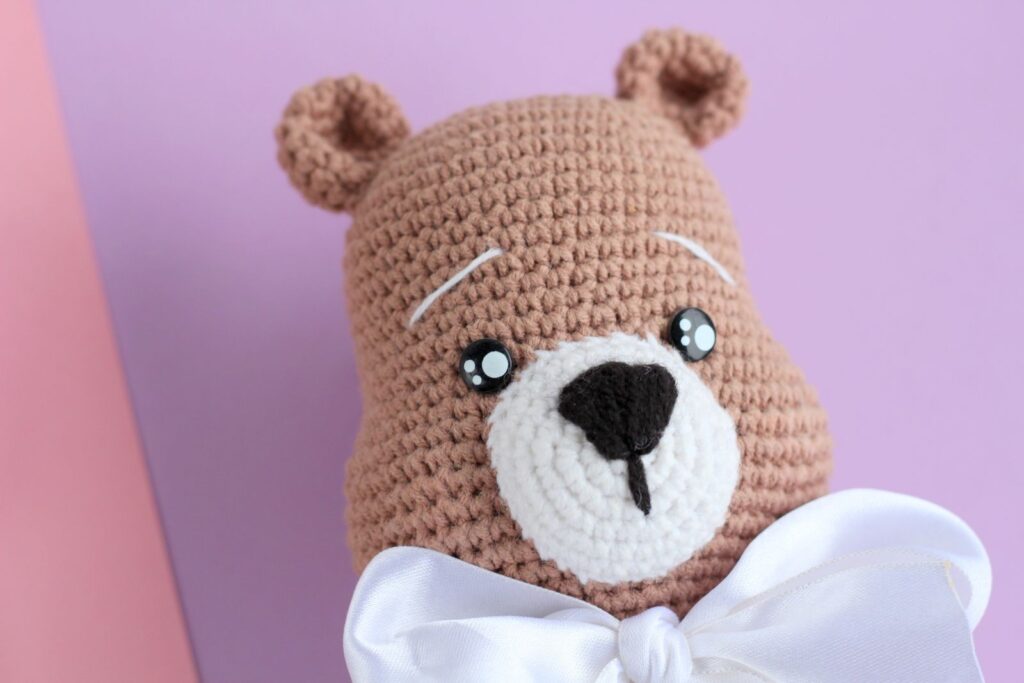
Eyes give an amigurumi its personality. The same little bear looks sleepy, shy or super kawaii depending on the size and position of its eyes. This guide explains which safety eye size to choose, how to place them so your toy looks cute, how to attach them securely, and what to use instead for babies and toddlers.
What are safety eyes?
Safety eyes are plastic eyes with a post on the back. You push the post through your crochet fabric, then press a washer (also called a backing) onto the post from the inside. Once the washer is on, it locks in place and can’t be pulled off by hand. That’s why they’re called “safety” eyes. They come in black, colored and glitter versions, in round and oval shapes.
Safety eyes size chart
The size is the diameter of the eye in millimeters. Use this as a starting point for worsted (#4) yarn with a 3.5 mm hook:
| Eye size | Best for |
|---|---|
| 4–5 mm | Tiny keychains and ornaments (head 3–4 cm wide) |
| 6 mm | Small amigurumi and keychains (head about 4–5 cm), like our gingerbread keychain |
| 8 mm | Standard toys 8–12 cm tall, like our chibi snowman and penguin |
| 9–10 mm | Medium toys 12–18 cm tall |
| 12 mm | Large toys and chunky yarn plushies |
| 15 mm and up | Jumbo chenille plushies |
For a more kawaii look, go one size bigger than usual. Big eyes read as cute and baby-like.
How to place the eyes
- Height: place the eyes at or slightly below the middle of the head. Low-set eyes look younger and cuter; high eyes look more serious.
- Spacing: the pattern usually tells you how many stitches apart (for example “6 stitches between them”). Wider spacing looks sweeter and more innocent; close-set eyes look more alert.
- Test first: push the eyes in without the washers, stuff the head lightly, and look at it from a distance. Take a photo with your phone; it shows the face more honestly than looking up close.
- Count rounds and stitches on both sides so the eyes are level and symmetrical.
How to attach safety eyes
- Insert the eye post between two stitches, never through the middle of a stitch.
- Check the placement one last time. Once the washer is on, it’s very hard to remove.
- From the inside of the head, press the washer onto the post, flat side facing the fabric.
- Push firmly until it clicks against the fabric. Pressing the head against a table helps. Some crocheters use a special safety eye tool that pushes the washer evenly.
- Attach the eyes before you stuff the head and close it, because you need to reach the inside.
Are safety eyes safe for babies?
Even well-attached safety eyes can come off if a toy is chewed for a long time or the fabric wears out, and they are a choking hazard. For babies and children under 3, it’s best to skip them. Use these safe alternatives instead:
- Embroidered eyes: use black yarn or embroidery thread and make small satin-stitch ovals or simple “U” shapes for closed, sleepy eyes.
- Crocheted eyes: crochet tiny circles (6 sc in a magic ring) and sew them on securely all the way around.
- Felt eyes: cut small circles from felt and sew them on with tiny stitches around the edge, never glue only.
Adding details around the eyes
- Cheeks: embroider small pink ovals or use a little powder blush on a cotton bud, just below and to the outside of each eye.
- Eyelashes: a few short straight stitches above the outer corner of each eye.
- Eyebrows: one short stitch above each eye changes the expression completely.
FAQ
Can I remove a safety eye after attaching it?
It’s difficult. Some people carefully cut the post with strong scissors or heat the washer slightly, but it often damages the fabric. Always test placement first.
Do I need special safety eyes for chunky yarn?
Use eyes with longer posts so they reach through the thick fabric, and choose 12 mm or larger.
Can I use glue instead of washers?
No. Glue isn’t secure on fabric that gets squeezed. Always use the washer, or embroider the eyes.
Find the right yarn to go with your eyes in our guide to the best yarn for amigurumi.
Cover photo: inspiration photo by Anna Doschechko on Pexels