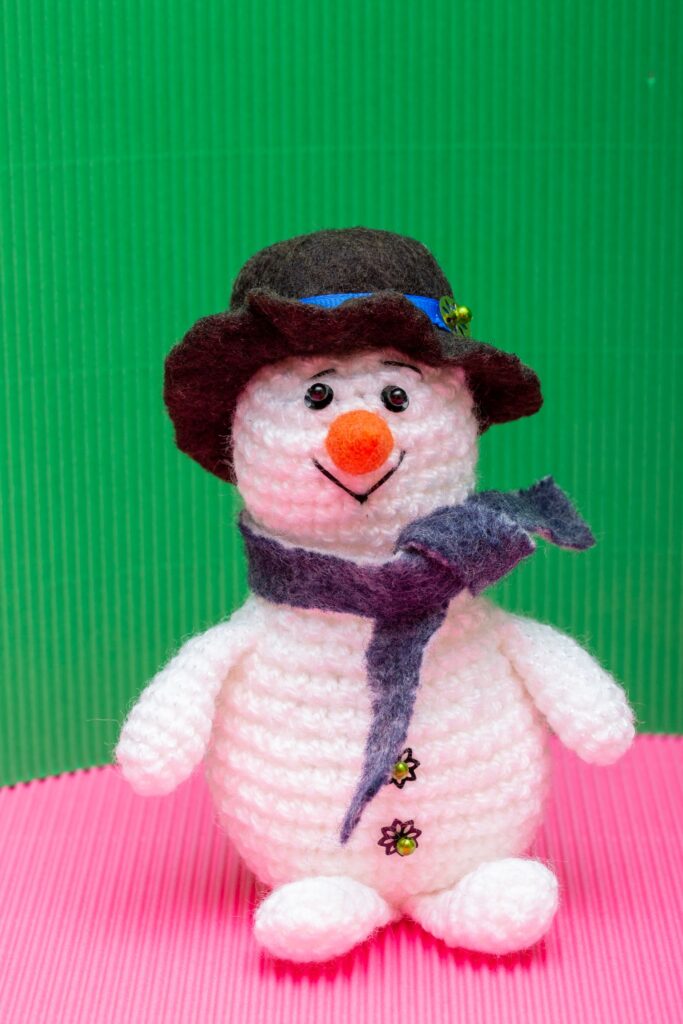
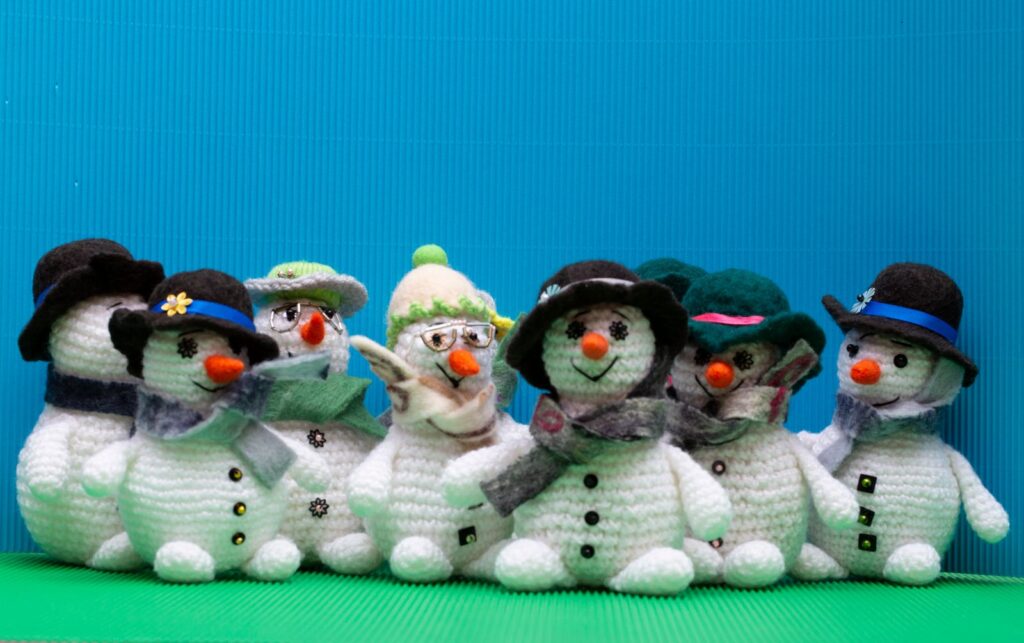
Meet the cutest snowman of the season: a chibi snowman with an oversized head, a tiny top hat and a cozy red scarf. In true kawaii style, the head is bigger than the body, which makes him look soft and huggable.
This pattern is perfect for beginners who already know the magic ring, single crochet, increases and decreases. He’s about 10 cm (4 in) tall in worsted yarn and takes around 2–3 hours to make. Add a loop to the hat and he becomes a Christmas ornament!
Materials
- Worsted weight (#4) yarn: white (about 25 g), black (5 g), red (5 g), orange (scrap)
- 3.5 mm (E/4) crochet hook
- 8 mm safety eyes (1 pair)
- Polyester fiberfill
- Pink embroidery floss or blush
- Brown yarn scrap for the twig arms (optional)
- Yarn needle, stitch marker, scissors
Finished size: about 10 cm (4 in) tall with the hat.
Gauge: not critical, but crochet tightly so the stuffing doesn’t show through. Go down a hook size if you see gaps.
Abbreviations (US terms)
MR = magic ring · sc = single crochet · inc = 2 sc in the same stitch · dec = invisible decrease · sl st = slip stitch · ch = chain · BLO = back loop only · FLO = front loop only · (…) x6 = repeat 6 times · (36) = stitches at the end of the round.
Work in continuous rounds without joining. Move your stitch marker up at the start of every round.
Head (white)
- R1: 6 sc in MR (6)
- R2: inc x6 (12)
- R3: (sc, inc) x6 (18)
- R4: (2 sc, inc) x6 (24)
- R5: (3 sc, inc) x6 (30)
- R6: (4 sc, inc) x6 (36)
- R7–R12: sc around (36) — 6 rounds
Insert the safety eyes between R9 and R10, with 6 stitches between them. Check the placement before you lock the backs, because they can’t be moved afterwards.
- R13: (4 sc, dec) x6 (30)
- R14: (3 sc, dec) x6 (24)
- R15: (2 sc, dec) x6 (18). Start stuffing firmly now.
- R16: (sc, dec) x6 (12)
- R17: dec x6 (6)
Fasten off, thread the tail through the front loops of the last 6 stitches, and pull tight to close.
Body (white)
- R1: 6 sc in MR (6)
- R2: inc x6 (12)
- R3: (sc, inc) x6 (18)
- R4: (2 sc, inc) x6 (24)
- R5: (3 sc, inc) x6 (30)
- R6–R10: sc around (30) — 5 rounds
- R11: (3 sc, dec) x6 (24)
- R12: (2 sc, dec) x6 (18)
- R13: sc around (18)
Fasten off and leave a long tail (about 40 cm) for sewing. Stuff the body firmly; the flat bottom from R1–R5 helps him stand.
Carrot nose (orange)
- R1: 4 sc in MR (4)
- R2: (sc, inc) x2 (6)
- R3: sc around (6)
Fasten off with a tail. Don’t stuff it; the nose stays small and pointy.
Top hat (black)
- R1: 6 sc in MR (6)
- R2: inc x6 (12)
- R3: (sc, inc) x6 (18)
- R4: (2 sc, inc) x6 (24)
- R5: BLO sc around (24) — this creates the flat top edge
- R6–R8: sc around (24)
- R9: FLO (sc, inc) x12 (36) — the brim
- R10: sc around (36)
Fasten off with a long tail. Add a red band by embroidering a line of surface slip stitches around R8.
Scarf (red)
Ch 41. Starting in the 2nd chain from the hook, sc across (40). Fasten off. Cut a few 4 cm pieces of red yarn and knot them to each end for fringe.
Twig arms (brown, optional, make 2)
Ch 7. Sl st in the 2nd chain from the hook and in each chain across (6). Fasten off with a tail.
Assembly
- Head to body: place the open top of the body under the head, centered on R15–R17. Sew all the way around using the body’s tail, adding a bit more stuffing before closing so the neck doesn’t wobble.
- Nose: sew the carrot between the eyes, one round below them, pointing slightly up.
- Hat: sew the hat on top of the head, tilted slightly to one side for extra cuteness. Stuff the hat lightly first.
- Scarf: wrap it around the neck and tie a loose knot at the side. A couple of stitches keep it in place.
- Arms: sew the twig arms to the sides of the body, at R7.
- Face: embroider a small smile under the nose with black yarn, and add pink cheeks under each eye.
Tips for a cute chibi snowman
- Eye spacing matters. Wider-set, low eyes make him look younger and cuter. Try different spots with pins before locking them in.
- Use bright white cotton. Off-white acrylic can look grey in photos.
- Stuff the head more than the body. A firm, round head is the heart of the chibi look.
- Turn him into an ornament: before sewing the hat, thread a gold cord through its top and knot it inside.
FAQ
Is this pattern good for beginners?
Yes. If you can make a magic ring, increases and decreases, you can make this snowman. The hat brim (FLO) is the only new technique, and it’s just working into one loop.
How do I make him bigger?
Use chunky or chenille yarn with a 5–6 mm hook. The same pattern will make a snowman about 18–20 cm tall.
Why does my head look lumpy?
Usually from uneven stuffing. Add stuffing in small pieces and shape the head with your hands as you go.
Can I sell the snowmen I make?
Yes, finished items are fine to sell. Please credit Crochet By Luma Art and don’t share or resell the pattern itself.
Looking for more holiday makes? Check out 10 Kawaii Crochet Christmas Ornaments and pin this snowman to your Christmas board for later!
Cover photo: Inspiration photo by Valentin Ivantsov on Pexels