Stuffing seems like the easy part of amigurumi, but it makes a huge difference. Too little and your toy looks floppy and wrinkled. Too much and the stuffing pushes through the stitches. Uneven stuffing gives you lumps. Here’s how to stuff amigurumi so every piece comes out smooth, round and firm.
What stuffing to use
- Polyester fiberfill: the standard choice. It’s light, washable, cheap and keeps its shape. Choose a good quality “premium” or “cluster” fiberfill; cheap fiberfill clumps more easily.
- Plastic pellets or glass beads: add weight to the bottom of a toy so it stands up. Always put them in a small fabric pouch or a tied-off nylon stocking first, so they can’t escape.
- Yarn scraps: fine for tiny parts like noses, but they make larger pieces heavy and lumpy.
- Cotton balls: avoid them. They clump, flatten and can go moldy if the toy gets damp.
How much stuffing to use
Most amigurumi should be stuffed firmly. The piece should hold its shape when you squeeze it gently and bounce back afterwards. A good test: press the surface with your finger. If you can feel the stuffing but it doesn’t show through the stitches, it’s right.
Some parts need different amounts:
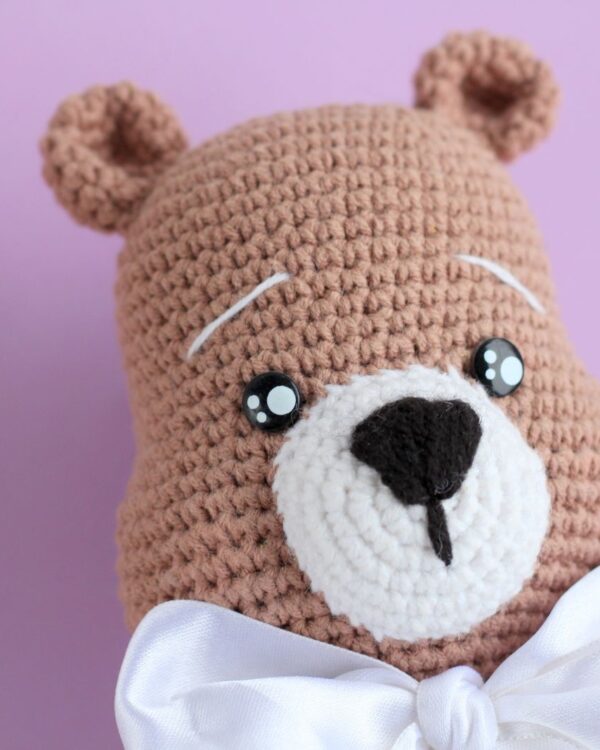
- Heads: stuff the firmest, especially for the chibi look with a big round head.
- Bodies: firm, but slightly less than the head, so they can sit or stand.
- Arms and legs: lightly, so they can bend and move. Some patterns leave flippers or ears unstuffed.
- Noses, beaks and tiny parts: usually not stuffed at all.
Step-by-step: how to stuff a ball shape
- Pull the fiberfill apart first. Tease a large piece into small, fluffy tufts. Fluffy stuffing fills evenly; compressed clumps make lumps.
- Start stuffing when you begin decreasing. For a typical head, start when you have about 24–18 stitches left, after attaching the safety eyes.
- Fill the far end first. Push small tufts into the top of the head or the tip of a cone, then work your way down.
- Add small amounts at a time. Many small pieces give a smoother result than one big ball.
- Shape as you go. Roll the piece between your hands to spread the stuffing evenly and push it into the edges.
- Top up before closing. When only 6–12 stitches remain, add a last bit of stuffing, then work the final decreases and close the hole. See our invisible decrease tutorial for a neat finish.
Tools that help
- The back of your hook or a chopstick pushes stuffing into narrow parts like legs and the tip of a Christmas tree cone.
- Hemostat forceps (from craft or medical shops) grab tufts and place them exactly where you need them.
- A stuffing stick with a forked end works well for long, thin pieces.
Fixing common stuffing problems
The stuffing shows between stitches: you’re overstuffing, or your stitches are too loose. Remove a little stuffing, or go down a hook size next time. Dark yarn with white stuffing shows gaps the most; you can use a dark-colored fiberfill or wrap the stuffing in a bit of matching fabric.
The piece is lumpy: pull the stuffing out, fluff it up again and restuff in smaller pieces. Massage the piece between your palms to smooth it.
The toy won’t stand: stuff the bottom less firmly so it flattens, or add a small pouch of pellets. A flat crochet base or a circle of cardboard inside the bottom also helps.
The neck wobbles: stuff both the head and the top of the body firmly before sewing them together, and add a little extra stuffing into the neck as you close the seam.
FAQ
How much fiberfill does one amigurumi need?
A 10 cm toy in worsted yarn uses roughly 15–25 g of fiberfill. A 250 g bag is enough for many small projects.
Can I wash a stuffed amigurumi?
Toys with polyester fiberfill and cotton or acrylic yarn can usually be hand washed in cool water. Squeeze gently and let them air dry fully.
Should I stuff before or after attaching safety eyes?
Always attach the eyes first. You need to reach the inside to press the washers on. Read our safety eyes guide for details.
Pin this guide so it’s ready for your next amigurumi!
Cover photo: inspiration photo by Nikita Nikitin on Pexels