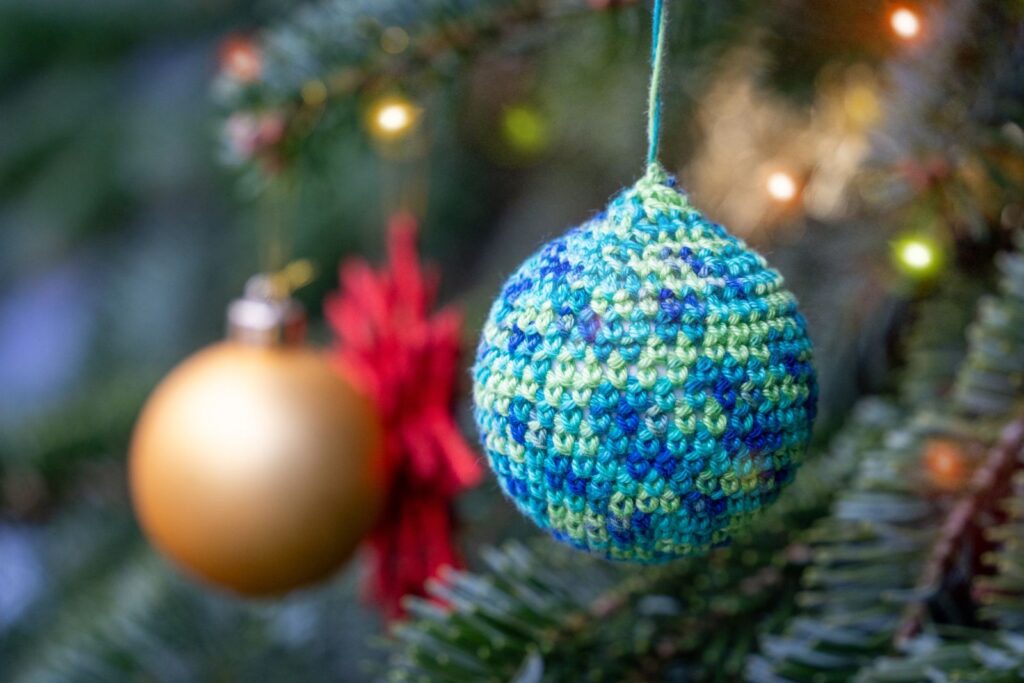
Nothing makes a Christmas tree feel cozier than handmade ornaments, and kawaii ones bring a smile to everyone who sees them. In this post you’ll find 10 cute crochet Christmas ornament ideas, from tiny snowmen to smiling baubles. Each one works up in under two hours, uses scrap yarn, and is beginner friendly.
Some ideas link to a full step-by-step pattern on this blog. The others come with a quick mini pattern right here, so you can start crocheting today.
How to turn any amigurumi into an ornament
Almost any small amigurumi can become an ornament with three simple steps:
- Keep it small. Aim for 5–8 cm (2–3 in). Use worsted (#4) yarn with a 3–3.5 mm hook, or DK (#3) yarn with a 2.5 mm hook for an even smaller piece.
- Stuff it lightly but evenly. Heavy ornaments pull branches down. Polyester fiberfill is lighter than pellets, so skip the pellets.
- Add a secure hanging loop. Thread a 15 cm piece of yarn or gold cord through the top round, knot the ends together, and hide the knot inside the piece. For gifts, a metal ornament hook works too.
What you’ll need for all 10 ornaments
- Worsted weight (#4) cotton or acrylic yarn in white, red, green, brown, black, orange and yellow
- 3.5 mm (E/4) crochet hook
- 6 mm and 8 mm safety eyes (or black embroidery thread for baby-safe ornaments)
- Polyester fiberfill
- Pink embroidery floss or a little blush for cheeks
- Yarn needle, scissors, stitch marker
- Gold cord or yarn for hanging loops
All patterns use US crochet terms and are worked in continuous spirals unless noted. Place a stitch marker in the first stitch of each round.
Abbreviations: MR = magic ring · sc = single crochet · inc = 2 sc in the same stitch · dec = single crochet decrease (invisible decrease recommended) · sl st = slip stitch · ch = chain · hdc = half double crochet · BLO = back loop only · (…) x6 = repeat 6 times · (12) = stitch count at the end of the round.
1. Chibi snowman
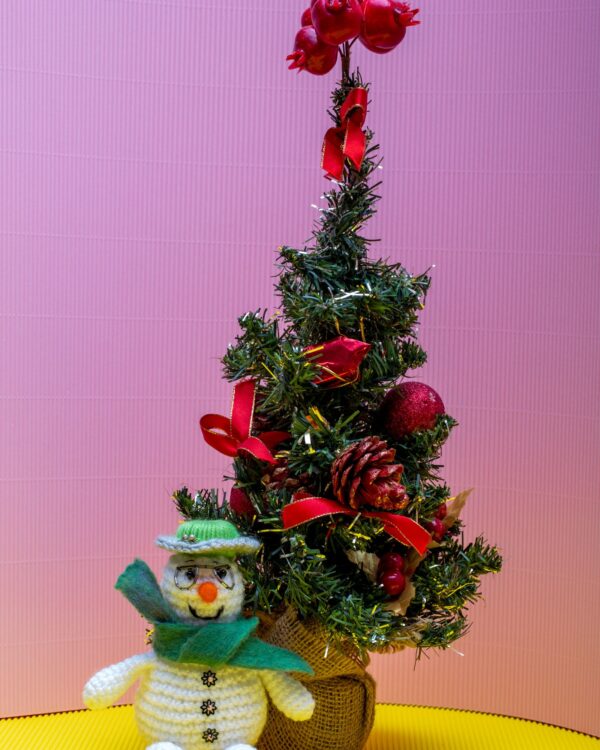
A big round head, a tiny top hat and a red scarf make this snowman the star of the tree. It’s the most popular ornament in this collection. Follow the full Chibi Snowman Amigurumi pattern and add a loop through the hat.
2. Gingerbread man
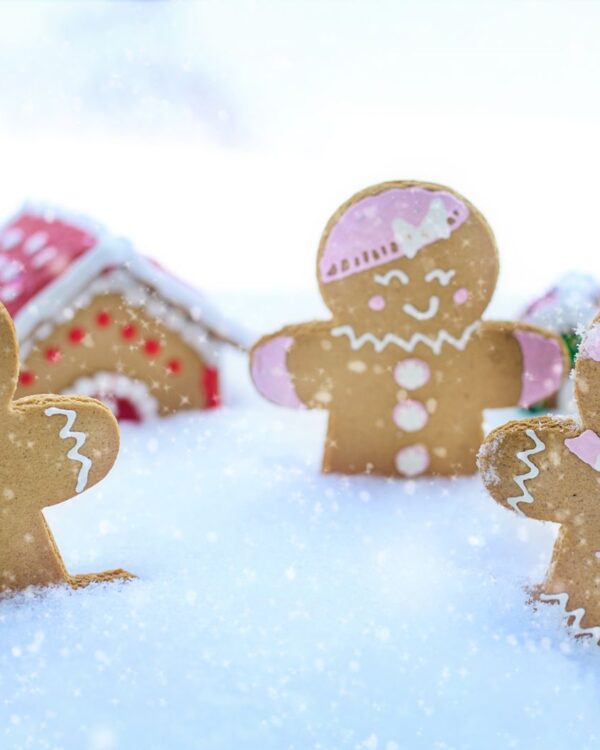
This little cookie friend has white icing zigzags and red buttons. It doubles as a keychain, so make extras for gifts. See the full Crochet Gingerbread Keychain pattern.
3. Mini Christmas tree
A tree for your tree! This smiling cone with a yellow star on top also looks lovely on a desk or shelf. Get the full Mini Christmas Tree Amigurumi pattern.
4. Kawaii penguin
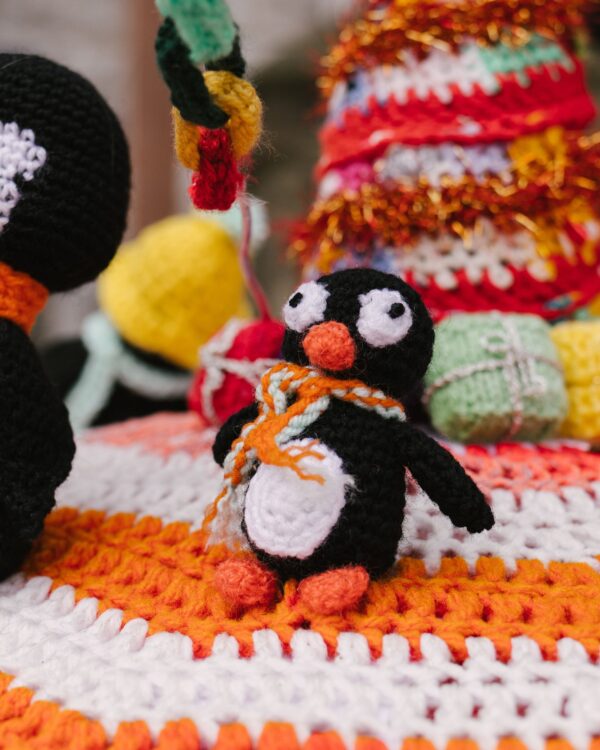
Round, chubby and very huggable. Use DK yarn and a 2.5 mm hook to shrink it to ornament size. See the full Kawaii Penguin Amigurumi pattern.
5. Smiling bauble (mini pattern)
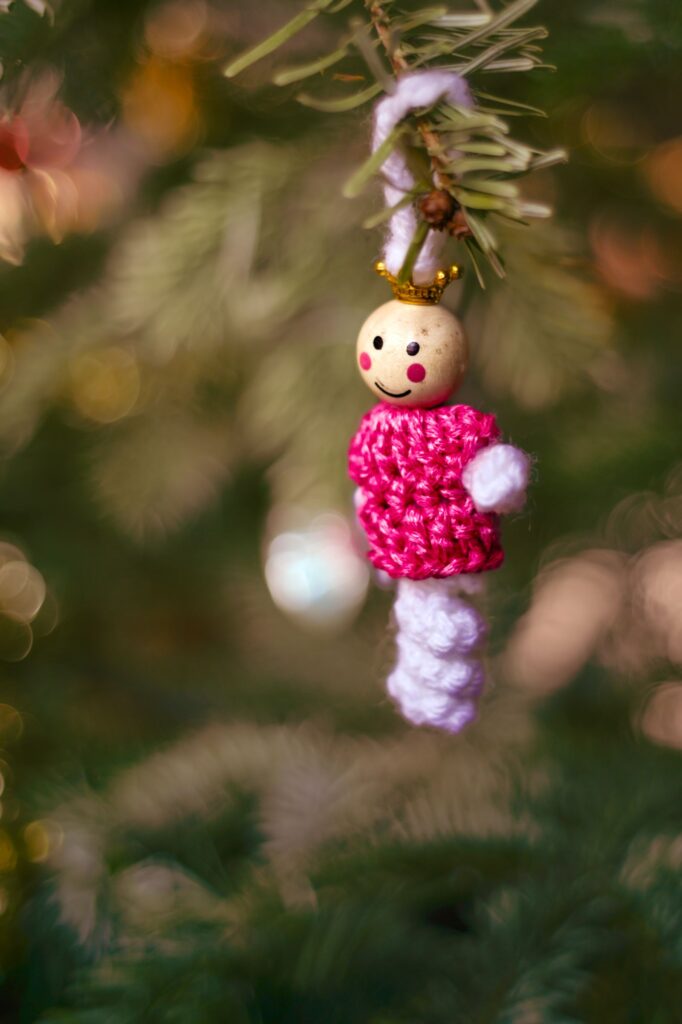
The classic Christmas ball, but with a face. Make it in red, green or pastel pink.
Ball (red):
- R1: 6 sc in MR (6)
- R2: inc x6 (12)
- R3: (sc, inc) x6 (18)
- R4–R7: sc around (18) — 4 rounds
- Insert 6 mm safety eyes between R5 and R6, 4 stitches apart.
- R8: (sc, dec) x6 (12). Stuff firmly.
- R9: dec x6 (6). Fasten off and close the hole.
Cap (yellow or gold):
- R1: 6 sc in MR (6)
- R2: BLO sc around (6)
- Fasten off with a long tail. Sew the cap over the top of the ball, then add the hanging loop through the cap.
Embroider a small smile under the eyes and add pink cheeks.
6. Candy cane (mini pattern)
This candy cane holds its hook shape thanks to a pipe cleaner inside.
- With white: R1: 6 sc in MR (6)
- R2–R20: sc around (6), changing color every 2 rounds (red, white, red…)
- Before closing, insert a pipe cleaner folded in half so no sharp ends poke out. Do not stuff.
- Fasten off, close the end and bend the top into a hook.
Want it longer? Add more rounds in pairs.
7. Kawaii star (mini pattern)
A sweet yellow star with a face, perfect as a mini tree topper too.
- R1: 5 sc in MR, sl st to the first sc to join (5)
- R2: (ch 3, sl st in 2nd ch from hook, hdc in next ch, sl st in next sc of R1) x5 — this makes 5 points
- Fasten off and weave in the ends. Make two and sew them back to back for a sturdier star.
- Embroider tiny eyes and a smile in black thread.
8. Christmas pudding
Make the bauble ball in brown with no eyes. Then crochet a white “icing” circle (6 sc in MR, then inc x6 for 12 stitches) and sew it on top. Finish with two tiny green leaves made of chain stitches and a red French knot berry.
9. Mini mitten
Work R1–R3 of the bauble (18 sts), then sc 4 rounds, and finish with a BLO round for the cuff. Sew a 4-stitch thumb tube (4 sc in MR, then 2 rounds of sc 4) to the side. Hang two mittens together with one cord.
10. Tiny present box
Crochet a small square: ch 9, then sc in 2nd ch from hook and across (8). Work 8 rows of 8 sc, turning each row. Make 6 squares, sew them into a cube, and stuff before closing the last side. Wrap with a contrasting yarn “ribbon” and tie a bow on top.
Tips for perfect ornaments
- Use cotton yarn for crisp stitches. Acrylic is softer, but cotton keeps the shapes neat and the faces sharp.
- Place the eyes low on the face. Eyes set slightly below the middle of the head look more kawaii.
- Keep the colors consistent. Using the same red and green across all ornaments makes your tree look styled.
- Child safety: for babies and toddlers, embroider the eyes instead of using safety eyes.
FAQ
How long does one ornament take?
Most take 30–90 minutes. The bauble and the star are the fastest; the snowman and the penguin take the longest.
What yarn is best for crochet ornaments?
Worsted weight cotton gives the neatest results. Use DK for smaller ornaments.
Can I sell ornaments made from these patterns?
Yes, you’re welcome to sell finished ornaments you make. Please credit Crochet By Luma Art and don’t resell or share the pattern itself.
How do I stop the hanging loop from pulling out?
Pass the cord through at least two stitches of the top round and knot it inside the piece before closing.
Found a favorite? Save this post to your Christmas board on Pinterest so you can find it again, and follow Crochet By Luma Art for a new kawaii pattern every week.
Cover photo: Inspiration photo by Gundula Vogel on Pexels