This little Christmas tree has a happy face, a shiny yellow star and colorful “ornaments” made of French knots. It’s a quick, beginner-friendly amigurumi that looks adorable on a shelf, a desk or a windowsill, and it makes a lovely handmade gift.
The tree is about 9 cm (3.5 in) tall with the star and takes 1.5–2 hours. The cone shape is worked from the top down with gentle increases every other round, so it’s a great first project if you’ve only made balls before.
Materials
- Worsted weight (#4) yarn: green (about 15 g), brown (scrap), yellow (scrap)
- Red, white and pink yarn or floss scraps for decorations
- 3.5 mm (E/4) crochet hook
- 6 mm safety eyes (1 pair)
- Polyester fiberfill
- Yarn needle, stitch marker
Finished size: about 9 cm (3.5 in) tall including the star and trunk.
Abbreviations (US terms)
MR = magic ring · sc = single crochet · hdc = half double crochet · inc = 2 sc in the same stitch · dec = invisible decrease · sl st = slip stitch · ch = chain · BLO = back loop only · (…) x3 = repeat 3 times · (15) = stitches at the end of the round.
Work in continuous rounds and use a stitch marker.
Tree (green)
- R1: 4 sc in MR (4)
- R2: (sc, inc) x2 (6)
- R3: (sc, inc) x3 (9)
- R4: sc around (9)
- R5: (2 sc, inc) x3 (12)
- R6: sc around (12)
- R7: (3 sc, inc) x3 (15)
- R8: sc around (15)
- R9: (4 sc, inc) x3 (18)
- R10: sc around (18)
- R11: (5 sc, inc) x3 (21)
- R12: sc around (21)
- R13: (6 sc, inc) x3 (24)
- R14: sc around (24)
Insert the safety eyes between R10 and R11, with 4 stitches between them. Start stuffing the cone, pushing the stuffing right into the tip.
- R15: BLO sc around (24) — this makes a crisp bottom edge
- R16: (2 sc, dec) x6 (18)
- R17: (sc, dec) x6 (12). Finish stuffing firmly.
- R18: dec x6 (6)
Fasten off and close the hole.
Trunk (brown)
- R1: 6 sc in MR (6)
- R2: BLO sc around (6)
- R3–R4: sc around (6)
Fasten off with a long tail. Stuff lightly.
Star (yellow)
- R1: 5 sc in MR, sl st to the first sc to join (5)
- R2: (ch 3, sl st in 2nd ch from hook, hdc in next ch, sl st in next sc of R1) x5
This creates 5 little points. Fasten off and leave a tail for sewing.
Assembly and decorating
- Trunk: sew the open end of the trunk to the center of the tree’s flat bottom. It works as a little stand.
- Star: sew the star to the tip of the tree, standing upright.
- Face: embroider a small smile under the eyes in black and add pink cheeks.
- Ornaments: scatter French knots in red, white and yellow around the tree. Keep them away from the face so it stays clear.
- Garland (optional): with white or yellow yarn, embroider a diagonal line of surface slip stitches wrapping around the tree from top to bottom.
Tips
- Stuff as you go. The narrow tip is hard to reach later, so add small bits of stuffing from around R8.
- Keep it standing straight. If it leans, sew the trunk slightly off-center to balance it, or add a flat cardboard circle inside the bottom before closing.
- Try other colors. Pastel mint, pink or white trees are very popular on Pinterest for a soft kawaii look.
- Make a forest. Keep adding the (x sc, inc) x3 + plain round pairs to make a bigger tree, and display small and large trees together.
FAQ
Why are there only 3 increases per round?
Increasing 3 stitches every other round gives a slim, pointy cone. Six increases per round would make a flat circle instead.
My tree twists to one side. What happened?
That’s normal in spiral rounds and called spiral lean. Embroider the face and decorations to match the lean, or switch to the yarn-under single crochet, which twists less.
Can I make it bigger?
Yes. Continue the pattern of (x sc, inc) x3 followed by a plain round until the tree is the width you want, then close it the same way.
Can I sell finished trees?
Yes. Please credit Crochet By Luma Art and don’t share or resell the pattern itself.
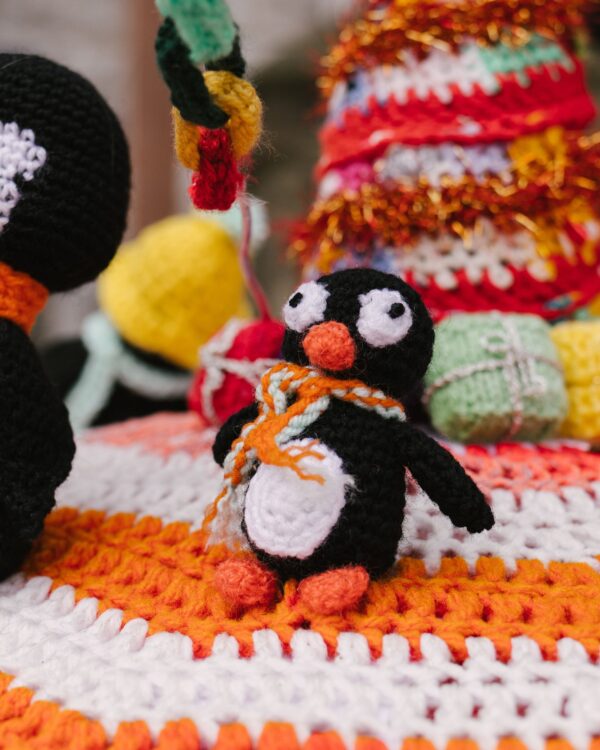
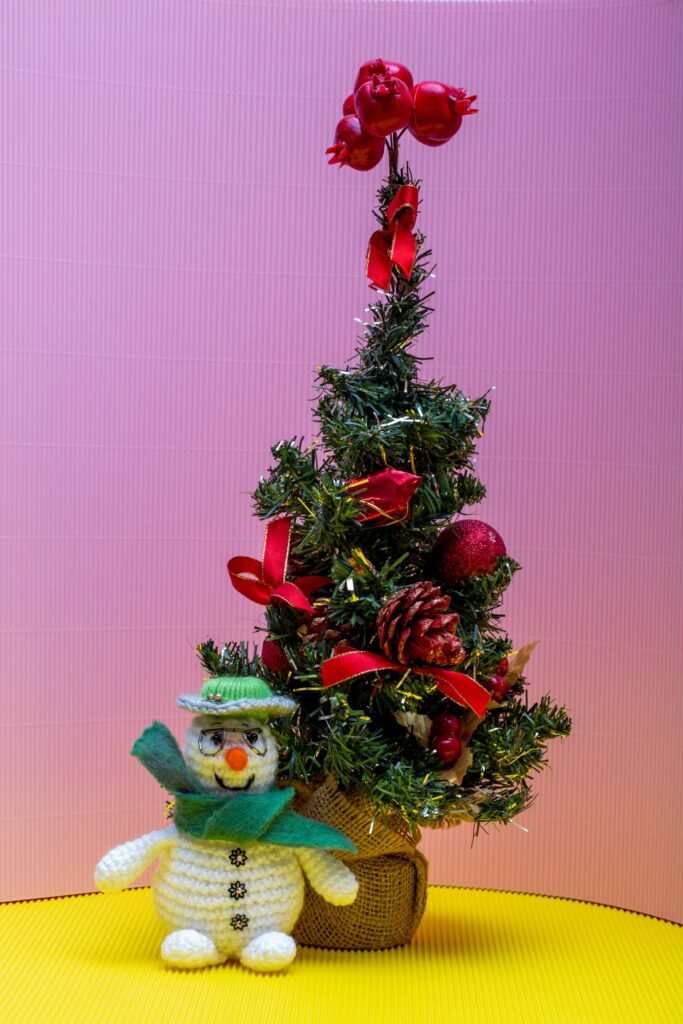
Pair your tree with the Chibi Snowman and the Kawaii Penguin for a cute holiday display, and save this pattern to your Christmas crochet board!
Cover photo: Inspiration photo by Valentin Ivantsov on Pexels