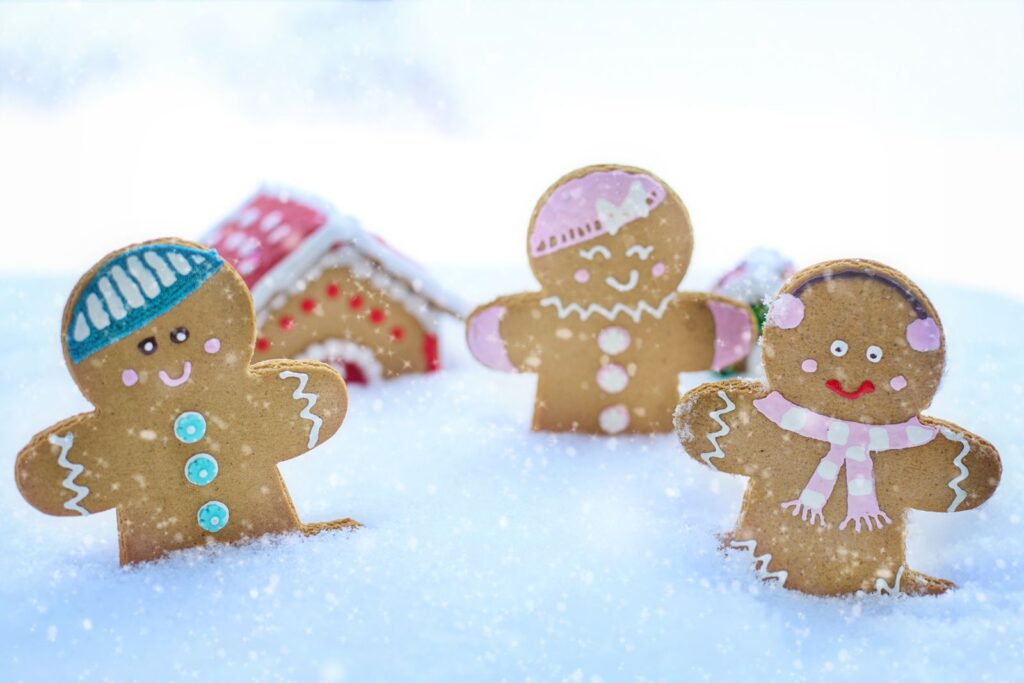
This tiny gingerbread man is the sweetest little Christmas accessory, and he won’t crumble! He’s a mini amigurumi with a round kawaii head, stubby arms and legs, and white icing details. Clip him onto your keys, bag or backpack, or hang him on the tree.
He’s about 7 cm (2.75 in) tall and takes roughly an hour to make, which makes him a great last-minute gift. Make a whole batch for friends, classmates or a holiday market table.
Materials
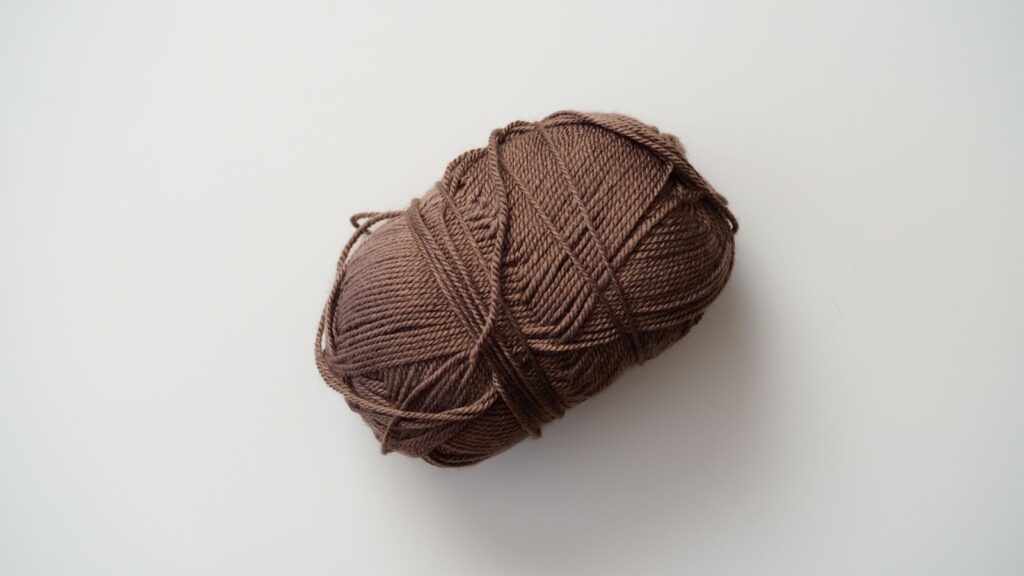
- Worsted weight (#4) cotton yarn: light brown or caramel (about 10 g), white (scrap)
- Red yarn or embroidery floss (scrap) for buttons
- 3.5 mm (E/4) crochet hook
- 6 mm safety eyes (1 pair), or black thread to embroider
- Polyester fiberfill
- Keychain clasp or key ring with a jump ring
- Pink floss or blush for cheeks
- Yarn needle, stitch marker
Finished size: about 7 cm (2.75 in) tall, not counting the clasp.
Abbreviations (US terms)
MR = magic ring · sc = single crochet · inc = 2 sc in the same stitch · dec = invisible decrease · (…) x6 = repeat 6 times · (18) = stitches at the end of the round.
Work in continuous rounds and use a stitch marker.
Head (brown)
- R1: 6 sc in MR (6)
- R2: inc x6 (12)
- R3: (sc, inc) x6 (18)
- R4–R6: sc around (18) — 3 rounds
Insert the safety eyes between R4 and R5, with 3 stitches between them.
- R7: (sc, dec) x6 (12). Stuff firmly.
- R8: dec x6 (6)
Fasten off and close the hole.
Body (brown)
- R1: 6 sc in MR (6)
- R2: inc x6 (12)
- R3: (sc, inc) x6 (18)
- R4–R6: sc around (18) — 3 rounds
- R7: (sc, dec) x6 (12)
- R8: sc around (12)
Fasten off with a long tail for sewing. Stuff the body lightly so it stays a little flat, like a cookie.
Arms and legs (brown, make 4)
- R1: 5 sc in MR (5)
- R2–R3: sc around (5)
Fasten off with a tail. Add a tiny bit of stuffing, or leave them unstuffed for a flatter look.
Assembly
- Head to body: sew the open top of the body to the bottom of the head.
- Arms: sew one arm to each side of the body, just below the neck, angled slightly down.
- Legs: sew the two legs to the bottom of the body, close together.
- Icing: with white yarn, embroider a small zigzag across the end of each arm and leg. A few short straight stitches in a V shape look just like piped icing.
- Buttons: make 2 or 3 red French knots down the middle of the body.
- Face: embroider a little smile with white or black thread and add pink cheeks.
- Keychain: sew a small loop of brown yarn through the top of the head, or attach a jump ring directly through 2 stitches of R1. Then add the keychain clasp.
Tips
- Choose cotton yarn. It holds the shape better than acrylic on a keychain that gets handled every day.
- Secure the ring well. Pass the jump ring through two stitches, not one, so it doesn’t pull out.
- Make a gingerbread girl: add a tiny pink bow to the head (ch 10, wrap the center with thread to pinch it).
- Customize for gifts: embroider an initial on the body instead of buttons.
FAQ
How long does this keychain take?
About 45–60 minutes once you’re comfortable with amigurumi basics.
Is it safe for kids?
For young children, embroider the eyes instead of using safety eyes, and use a soft cord instead of a metal clasp.
Can I make it without a keychain?
Yes. Skip the clasp and add a gold cord loop to make a Christmas ornament.
Can I sell these at a craft market?
Yes, you can sell finished keychains. Please credit Crochet By Luma Art and don’t share the pattern itself.
Want more festive makes? See the full collection in 10 Kawaii Crochet Christmas Ornaments, and save this pin for your holiday gift list!
Cover photo: Inspiration photo by Jill Wellington on Pexels